Visual Studio, Android, Native activity, C++, OpenGL ES
Official Android languages are Java and Kotlin.
Native activity will allow us to write code for Android in C++. Besides, Visual Studio’s Native activity template includes OpenGL ES initialization.
1. Open Visual Studio. Pick “Create a new project“. In templates menu pick Android, then “Native Activity Application (Android)”:
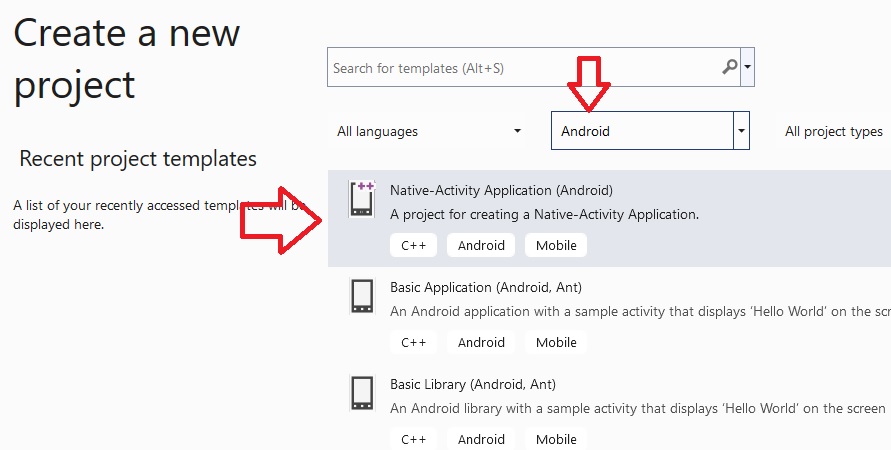
Then – Next.
2. On Configure your new project page:
- Project name – p_android (“p” – for “platform”),
- Location is wrong. Change it (browse) to “C:\CPP\a999hello”,
- Place solution in the same directory (just to know where to look for it in the future):
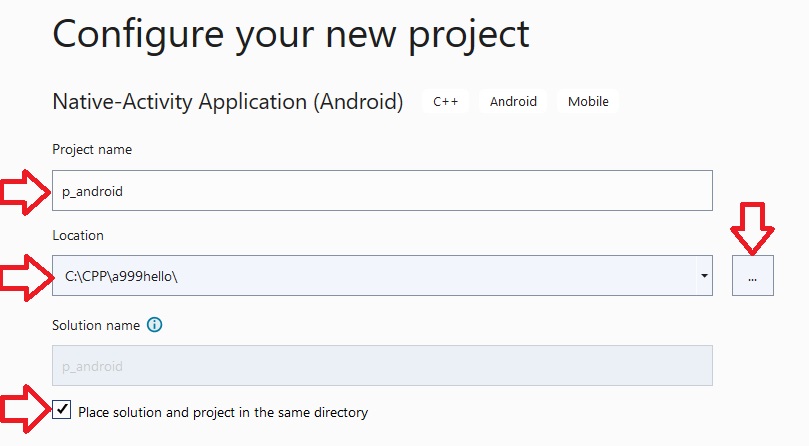
Then – Create.
Looks like this:
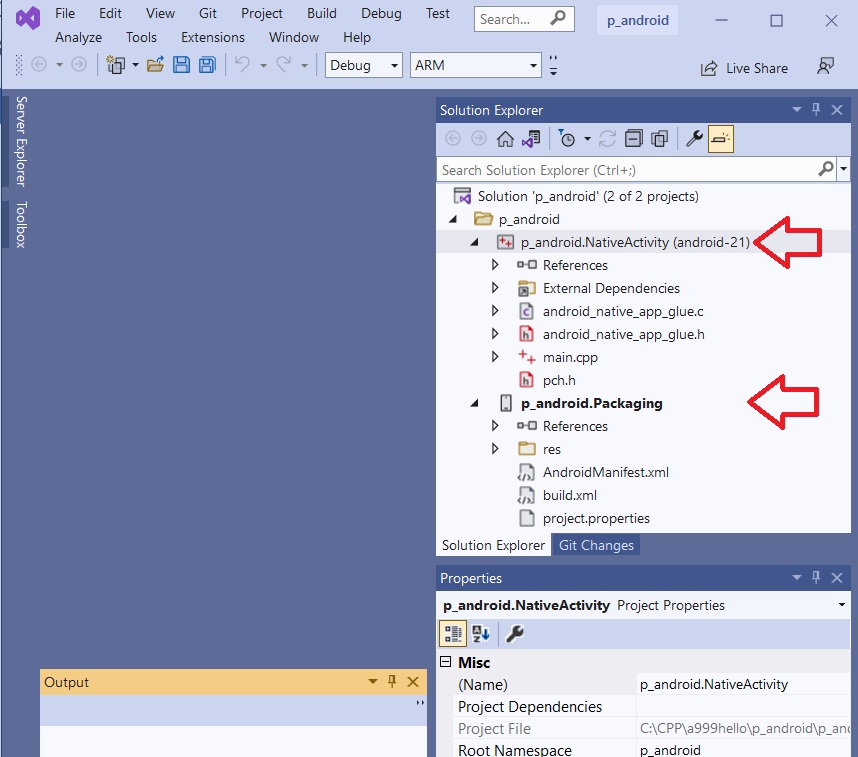
As you can see, under “p_android” solution/folder it created TWO projects – “p_android.NativeActivity” and “p_android.Packaging”.
3. IMPORTANT: Default platform (in the top menu) is ARM. Change it to ARM64.
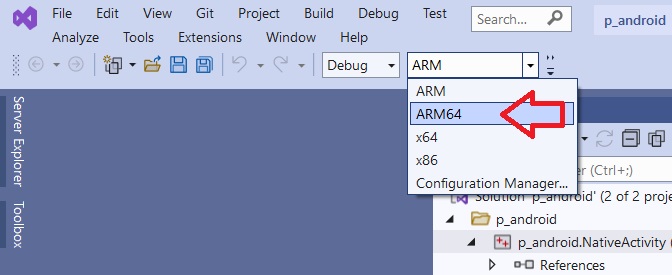
Google announced already that 32 bit will NOT be supported, so 64 is a must!
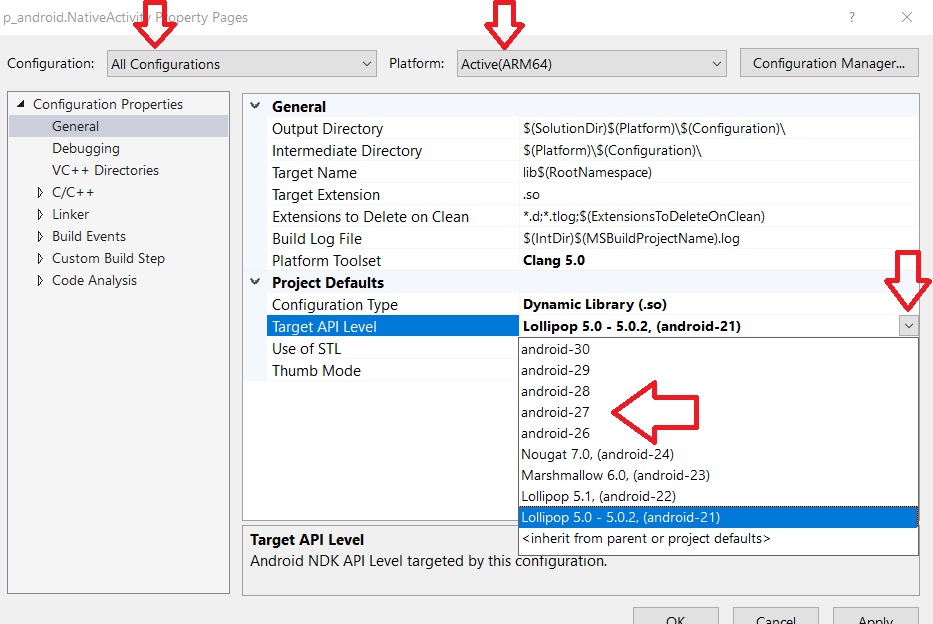
4. Since we are planning to use OpenGL ES 3.2, we need higher API level (in my case default was 21).
Right-click on p_android.NativeActivity project -> Properties (on the bottom),
Change Configuration to All Configurations, Platform: ARM64,
go to General -> Target API Level, Change to 27 (it will be quite enough):
Then – Apply, Ok.
5. Also we need to change minSdkVersion in the AndroidManifest to 24 (minimum for ES 3.2) and targetSdkVersion to 27 (as decided above):
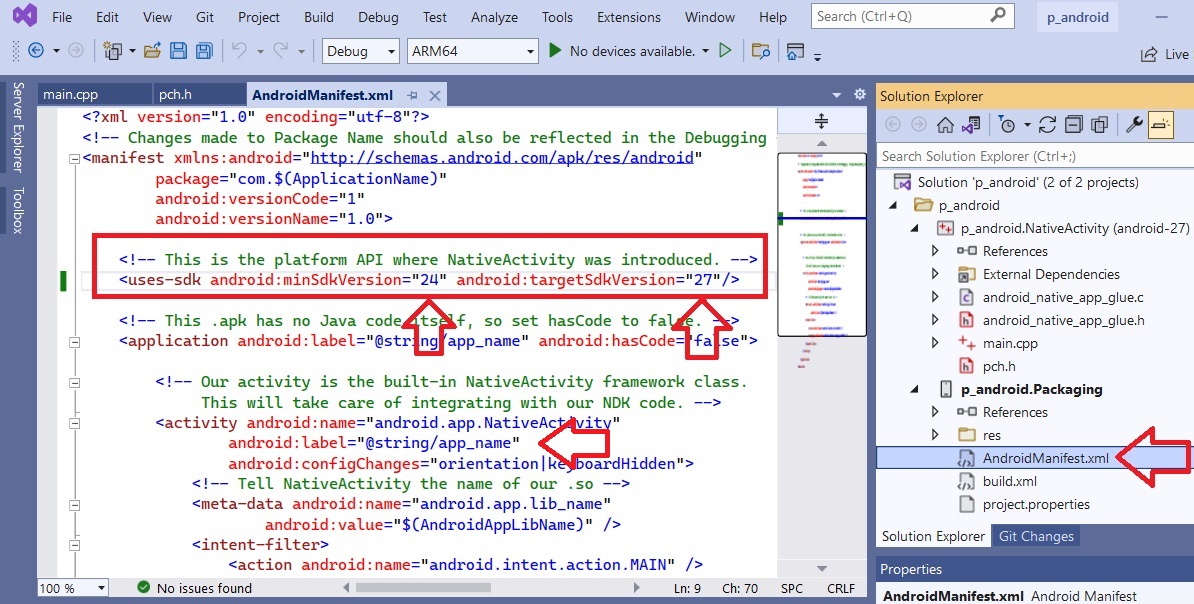
Also, let’s change android:label from “@string/app_name” to “OurProject“.
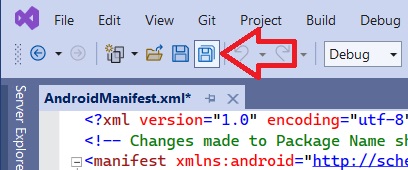
Then – Save All:
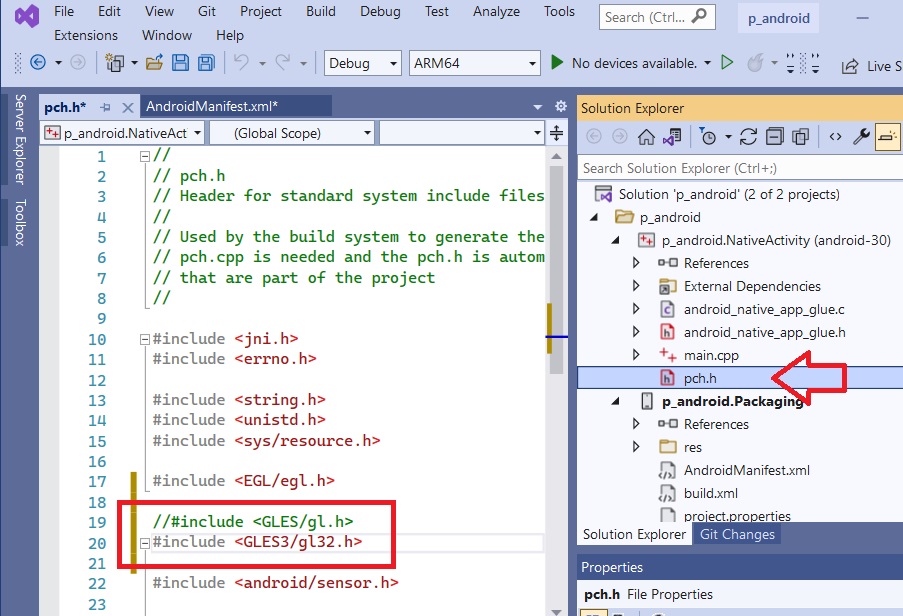
6. Now we can switch from default OpenGL ES 1.0 to desirable OpenGL ES 3.2. The reference is in pch.h file under p_android.NativeActivity project. Replace corresponding string to “GLES3/gl32.h”:
Again, Save All.
7. Also need to change linked library. Right-click on “p_android.NativeActivity” project -> Properties, All Configurations, ARM64, Linker -> Input, open Library Dependencies -> Edit.
Manually change GLESv1_CM to GLESv3
Ok, Apply, Ok.
To make sure that nothing is broken yet, let’s try to compile and run our program on actual Android device.
For this we will need to enable (if not enabled yet) “USB debugging” in Settings -> Developer options on the device.
Just in case: On my Samsung S20 phone “Developer Options” were not presented in Settings list. To enable them I had to go to Settings -> About phone -> Software information and tap on Build number seven times. After that Developer options supposed to be available, so you can go back to Settings -> Developer options and enable USB debugging.
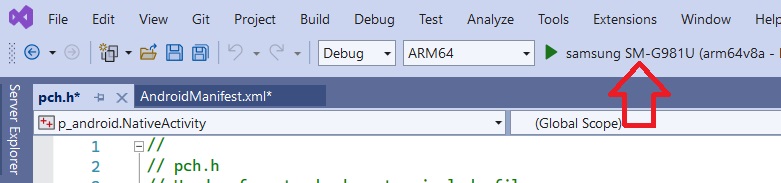
8. Now turn on and unlock your phone and plug it in to your PC with USB cable. Device should ask “Allow USB debugging?” – allow. After that your device should appear in the list of available devices:
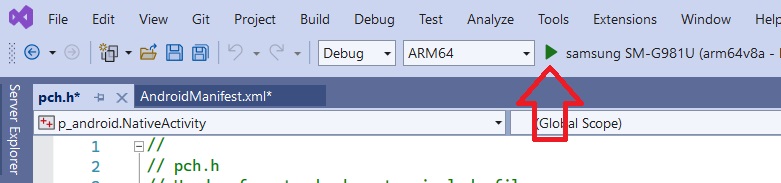
Click on the green arrow to run the program (Configuration: Debug / ARM64):
Just as was expected – errors.
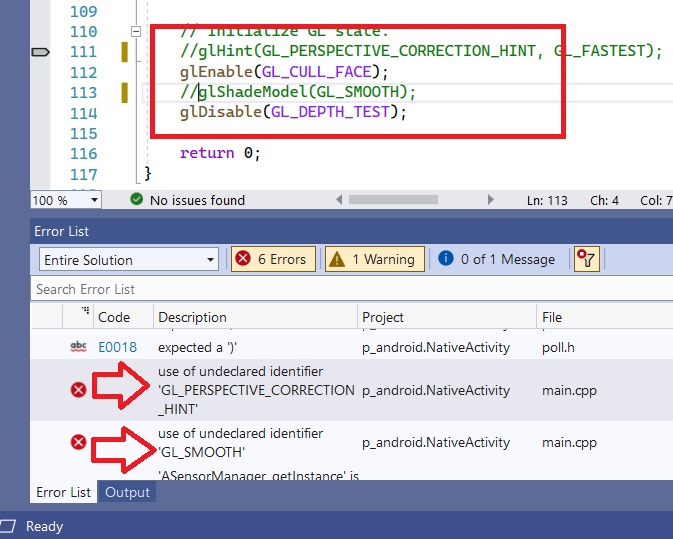
9. Ignore poll.h “errors”. Important is – 2 “undefined identifiers”: GL_PERSPECTIVE_CORRECTION_HINT and GL_SMOOTH in main.cpp. Lines 111 and 113 (it’s for GLES 1.0).
Double-click on the error to move to source code. Just comment these 2 lines out:
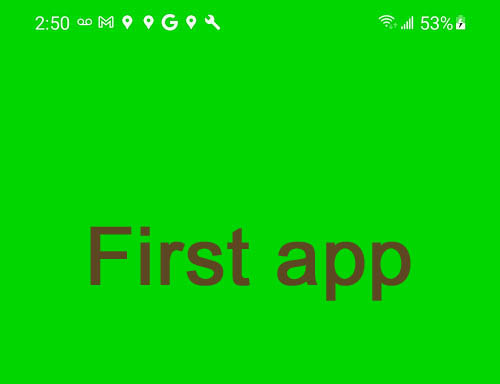
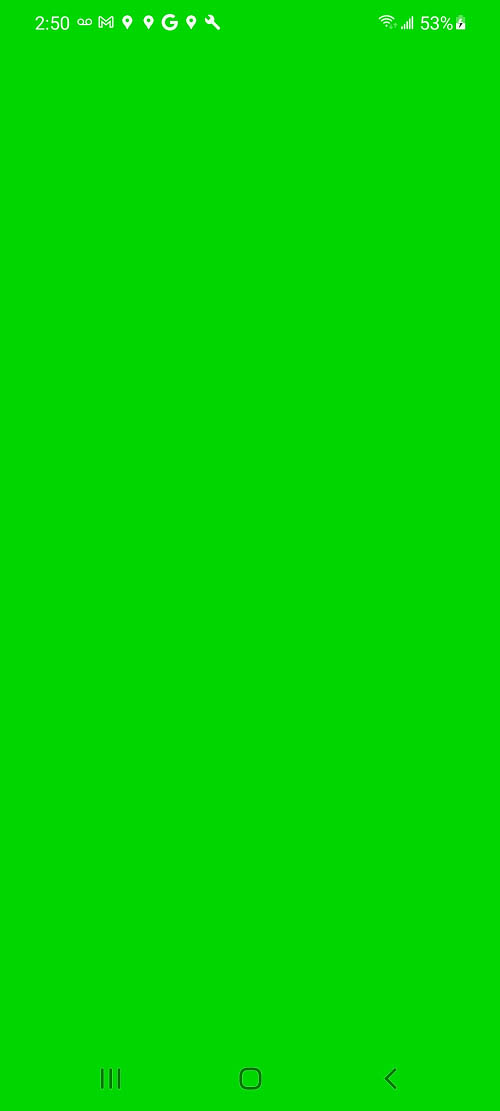
Run again (green arrow) – success! On my S20 it looks like flashing green screen:
For now, let’s put Android aside and move on to the PC.
VS top menu -> Debug -> Stop Debugging.